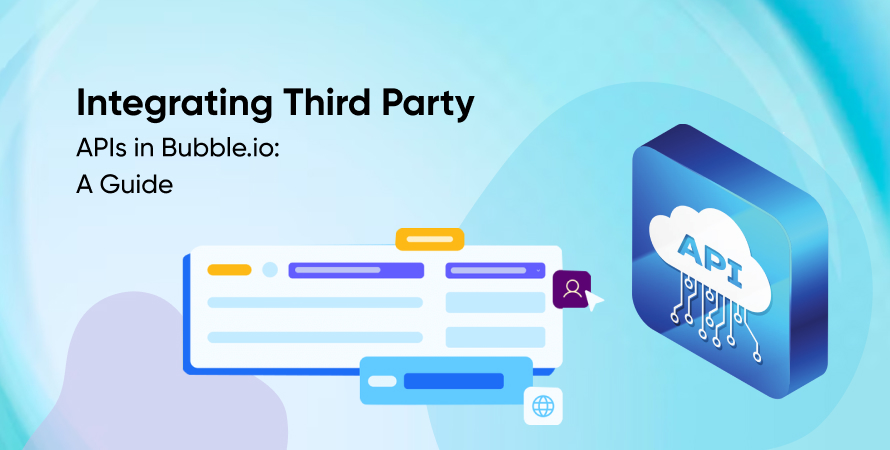
Integrating Third-Party APIs in Bubble.io: A Guide
Introduction
The rise of no-code platforms has revolutionized the way applications are built. Among these platforms, Bubble.io stands out as one of the most versatile and user-friendly tools available today. Whether you're a startup, entrepreneur, or seasoned business owner, Bubble allows you to create powerful, fully functional web applications without writing a single line of code.
One of the key strengths of Bubble (no-code app builder) is its ability to integrate seamlessly with third-party APIs. These integrations allow you to connect your app to external services, enabling you to automate processes, fetch data from external sources, and enrich your app's functionality. In this comprehensive guide, we'll walk you through how to integrate third-party APIs in Bubble (no-code tool), step-by-step.
Whether you're a no-code app developer or someone looking to build an MVP, this guide will help you unlock the full potential of Bubble's API integration capabilities.
What Are Third-Party APIs?
Before diving into the integration process, let's first understand what third-party APIs are and why they are important in app development.
An API (Application Programming Interface) is a set of rules and protocols that allows one software application to interact with another. A third-party API refers to an external service or platform that offers API access control to its data or functionalities. For instance, services like Stripe for payments, Twilio for SMS, or Airtable for databases provide third-party APIs that developers can integrate into their applications.
In a nutshell, third-party APIs expand the capabilities of your app by enabling it to leverage external services. Common use cases include:
- Payment Processing: Stripe or PayPal APIs
- Social Media: Twitter, Facebook, Instagram API integrations
- Data Storage: Airtable, Google Sheets, or Firebase
- Communications: Email and SMS via Twilio or SendGrid
- Analytics: Google Analytics, Mixpanel, etc.
Integrating these services into your app can save time, reduce costs, and enhance the overall user experience.
Why Use Third-Party API Integration In Bubble.io?
Bubble.io is an excellent choice when it comes to APIs (third-party) integrations. As a no-code platform, it empowers non-technical users to build sophisticated applications. But it also offers flexibility for developers by allowing easy integration with external APIs via its API Connector plugin.
Here's why Bubble is ideal for API integrations:
- Visual Interface: Bubble's intuitive drag-and-drop interface makes setting up API calls a straightforward process. No coding skills are required for most tasks, but developers can easily dive deeper into advanced workflows when necessary.
- API Connector Plugin: This powerful plugin is the backbone of API integrations in Bubble.io. It allows you to connect your app with any external service that exposes an API, regardless of whether you have technical coding skills.
- Custom Workflows: Bubble lets you design workflows that respond to API calls. You can trigger actions based on data returned from external services, creating complex interactions without a single line of code.
Whether you're a Bubble.io developer or a business owner looking to build an MVP, the API Connector makes integration quick and simple. This is just one of the reasons why many businesses choose Bubble as their go-to platform for building web applications.
Preparing for API Integration
Before diving into the integration process, it's essential to take a few preliminary steps to ensure a smooth workflow.
Here's a checklist of things to consider:
- API Documentation: Read through the documentation provided by the third-party service you're integrating. This will help you understand the available endpoints, parameters, authentication methods, and data formats.
- Authentication: Many APIs require authentication (API keys, OAuth tokens, etc.) to ensure secure communication. Make sure you have your credentials ready.
- Testing Tools: Familiarize yourself with tools like Postman to test your API calls and get a feel for the data response. This can save you a lot of time when configuring your integration in Bubble.
- Test Data: Make sure the API you're integrating is live, and request sample data so you can test your integration before going into production.
Step-by-Step Guide to API Integration in Bubble.io
Now, let's dive into the detailed steps to integrate third-party APIs in Bubble.io. We'll use the API Connector plugin as our primary tool.
Step 1: Install the API Connector Plugin
- Go to the Plugins tabin your Bubble editor.
- Click on the Add Plugins button.
- Search for the API Connector and click Install.
- Once installed, the plugin will appear in the Plugins section.
Step 2: Set Up Your API Call
- Navigate to the API Connector plugin and click Add a New API.
- Name your API (for example, "Stripe API" or "Twilio API").
- Select the API type (GET, POST, PUT, DELETE) depending on the service you're using.
- Input the API endpoint URL and any parameters required by the third-party service.
Step 3: Add Headers and Parameters
Many APIs require headers or parameters to function properly. For instance, to authenticate a request, you might need to include an Authorization header or an API key in the request.
- Add headers under the "Headers" section (e.g., Authorization: Bearer <your_api_key>).
- Add any parameters in the "Body" or "URL Parameters" section, depending on the API's requirements.
Step 4: Initialize the Call and View the Response
After setting up the API, you need to initialize it to ensure everything is working correctly.
- Click on the Initialize button to make a test request to the API.
- If everything is set up correctly, you should see a response from the API in the Bubble editor.
- You can view the response data to ensure it contains the information you need.
Step 5: Use API Data in Your App
Now that you have successfully integrated the API, you can use the data returned in your app.
- Create a Repeating Group or other UI elements to display the data.
- Set up workflows that trigger when the API response is received, such as displaying notifications or processing transactions.
Handling Authentication Types
Some third-party APIs require complex authentication methods. There are several common types:
- Basic Authentication: Pass the API key or credentials in the request header.
- Bearer Tokens: Common for APIs like OAuth 2.0. You'll include a token that grants you access.
- OAuth 2.0: This is a more secure method, commonly used by services like Google and Facebook. You'll need to configure OAuth flows within Bubble to ensure seamless login and data exchange.
When setting up API calls in Bubble, be sure to follow the authentication steps as outlined in the API documentation. Make sure your credentials are stored securely within Bubble's environment.
Third-Party API Integration- Best Practices
Here are some best practices to follow to ensure smooth API integrations in Bubble.io:
- Error Handling: Always prepare for failed API calls. Create workflows that handle errors gracefully, like showing a user-friendly error message.
- Use Backend Workflows: For time-consuming API calls, consider using backend workflows to prevent slowing down your app's user experience.
- Follow Naming Conventions: Make sure to name your API calls and parameters consistently. This makes your app more maintainable.
- Test, Test, Test: Always test your API calls thoroughly using test data before going live.
When to Hire a Bubble Developer
Integrating third-party APIs in Bubble.io can be straightforward for some, but it's not always a smooth process, especially if you're dealing with complex services or require custom functionality. That's where a Bubble developer can make a huge difference.
A skilled Bubble.io developer can help with:
- Advanced API Integrations: Custom workflows, error handling, and complex API interactions.
- Optimizing Performance: Ensuring that your app handles API calls efficiently, even under heavy load.
- Troubleshooting: Debugging and fixing any issues that may arise with your API integrations.
If you find yourself struggling with API integrations or want to ensure the best possible outcome, working with an expert from a Bubble developing agency is a smart move. Their expertise can save you time and headaches, enabling you to focus on building your app, not dealing with technical challenges.
Conclusion
Integrating third-party APIs in Bubble.io opens up a world of possibilities for your app. Whether you're processing payments, sending SMS messages, or displaying real-time data, Bubble's API Connector plugin makes it easy to connect to external services without writing code.
If you're looking to scale your app or need assistance with API integrations, consider reaching out to experienced Bubble.io developers.At Bubble.io Developers, we specialize in helping businesses leverage the power of Bubble's no-code platform. If you're ready to take your app to the next level, our expert team is here to guide you every step of the way.
Frequently Asked Questions (FAQs)
The API Connector plugin in Bubble allows you to integrate third-party APIs by making GET, POST, PUT, or DELETE requests. It retrieves and sends data between your app and external services without needing code.
No, you don’t need coding skills for basic API integrations in Bubble. The API Connector plugin offers a user-friendly interface for setup, though advanced integrations may require some technical knowledge, especially for complex APIs.
Yes, as long as the API uses HTTP endpoints, you can integrate it with Bubble via the API Connector. Simply follow the API documentation for endpoint setup and request configurations to seamlessly integrate external services.
Bubble ensures secure API integrations by allowing you to safely store API keys and credentials. It also supports authentication mechanisms like OAuth2, ensuring only authorized users can access certain API functions while protecting sensitive data.
Frontend API calls occur directly in the user’s browser, while backend API calls are made from Bubble’s server-side environment. Backend calls are preferred for handling sensitive data or long-running tasks, ensuring better performance and security.